Overview
The automatic testing for the GEP is performed during the Maven build. The tests are run as JUnit 3 plug-in tests and use Abbot (an open source project) to perform the GUI testing of finding objects, testing objects, and driving objects.
Building and running via Maven
If building the entire GEP, the testsuite will be the last plugin built. As part of the normal build process, Maven will perform several step.
- Abbot plug-ins are downloaded into the M2 repo
- Uses Ant to install a Geronimo server into a launcher directory so that it can be used during testing.
- Compile the testsuite.
- Use Ant to start the testsuite.
This testsuite must run after the regular plug-in builds since it will test the plug-in code. To skip the tests, use mvn install -Pno-it.
The GEP testsuite simulates end-user interactions with the Eclipse framework. Thus, while it is running any cursor or mouse movements will likely interfere with the successful execution of the incumbent testcases. It if is problematic or just inconvenient then the no-it profile should be used to skip the GEP testsuite.
Importing the testsuite into Eclipse
Download the following jars from sourceforge.net and put them in the eclipse plugins directory:
abbot.swt.jar, abbot.swt.test.jar, abbot.swt.eclipse.jar. Afterwards, you should be able to import the org.apache.geronimo.testsuite.v21 project.
Running the testsuite manually
If you are creating or updating test cases, it will be faster to run the test case from within Eclipse than to use Maven. Open the Run Configurations dialog and do the following:
- Create a new JUnit Plug-in Test
- Test page. Change Test Runner to be JUnit 3.
- Arguments page. Set the VM Arguments to -Xms256m -Xmx256m -XX:MaxPermSize=128m
- Main page. Find where the build installed the launcher and point the workspace location to the eclipse/eclipse/plugins directory that was created during the mvn install process. Set the workspace (on the main tab) to something similar to C:\g\devtools\eclipse-plugin\trunk\testsuite\launcher\eclipse\eclipse\plugin
Adding test cases
The following steps are required when adding new testcases to the GEP testsuite. Note that each new Eclipse plugin is the equivalent of an new testsuite, with each testsuite comprised of a single or multiple testcases.
- Create a new testsuite plugin in the testsuite\plugins directory. In order to build and execute properly from maven this new plugin must contain both a META-INF\MANIFEST.MF and a plugin.xml.
- Similarly, this new plugin must contain a pom.xml file to build the plugin, plus a test.xml ant script to execute the testsuite testcases using ant. The best examples for all these files are the existing testsuite(s).
- The testsuite\plugins\pom.xml file should be updated to build the new plugin.
- The testsuite\launcher\testsuite.xml and testsuite\launcher\testsuite.properties files must be updated to invoke and refer to the new testsuite plugin.
- There are actually two instances of Eclipse running while the testsuite is running. The first instance will use the testsuite\launcher\workspace as its workspace, and the second instance, used by the Junit testcases, will utilize the testsuite\eclipse\eclipse\jdt_folder directory as its workspace. Normally, each separate testsuite will delete this jdt_folder just prior to starting. However, if a testsuite requires some workspace artifacts from a previous testsuite (i.e., a defined Geronimo server), the test.xml for that testsuite should be modified to remove the delete ant task for the jdt_folder.
- If additional arguments need to be passed to the testsuite jvm, the extraVMargs property should be set in the test.xml ant script for that plugin. For example:
<property name="extraVMargs" value="-XX:MaxPermSize=128m" />
- Finally, the new testsuite plugin must build and execute without errors from maven build. And subsequent to the build, it must import into Eclipse and execute from within Eclipse without errors.
Abbot Coding
To make test case coding an easier task, an AbbotHelper class has been created. AbbotHelper acts as a wrapper for calls to the API and performs many of the most common GUI functions, clicking menus, entering text, pushing buttons, etc. New functions can easily be added to this class. Most Abbot functions follow the following template:
- Find unique object.
- Perform action on unique object.
- Wait for action to finish.
The 2 most common exceptions that Abbot throws are the ObjectNotFoundException and the MultiplesFoundException. ObjectNotFoundException is thrown when the code is looking for the wrong type of object or the String is not an exact match for an object. It is possible to use regular expressions in place of hard coded strings. For instance, if the title of a window is "Window (FFF)", where "FFF" represents a component and may change, you can change the title attribute of the component reference to "/Window .*/" so that the match string will always match the variable title.
Debugging Abbot code
Sometimes it is helpful to step though the Abbot code to figure out what it is expecting. In order to do this, you will need to get the source code and import it into Eclipse.
- svn https://abbot.svn.sourceforge.net/svnroot/abbot/abbot.swt/trunk
 c:\abbot
 - Create folder c:\abbot\abbot.plain (must be named abbot.plain)
- svn https://abbot.svn.sourceforge.net/svnroot/abbot/abbot/trunk c:\abbot\abbot.plain
- In c:\abbot\abbot.swt, do ant -f setup.xml to create the c:\abbot\abbot.swt\lib\abbot.jar
- Copy from C:\abbot\abbot.plain\lib\ to C:\abbot\abbot.swt\lib\ the following jars: bsh-2.0b4.jar, gnu-regexp-1.1.0.jar, jdom-1.0.jar, xercesImpl-2.8.1.jar, xml-apis.jar
- Download MRJToolKitStubs.zip from http://developer.apple.com/samplecode/MRJToolkitStubs/index.html into C:\abbot\abbot.swt\lib\
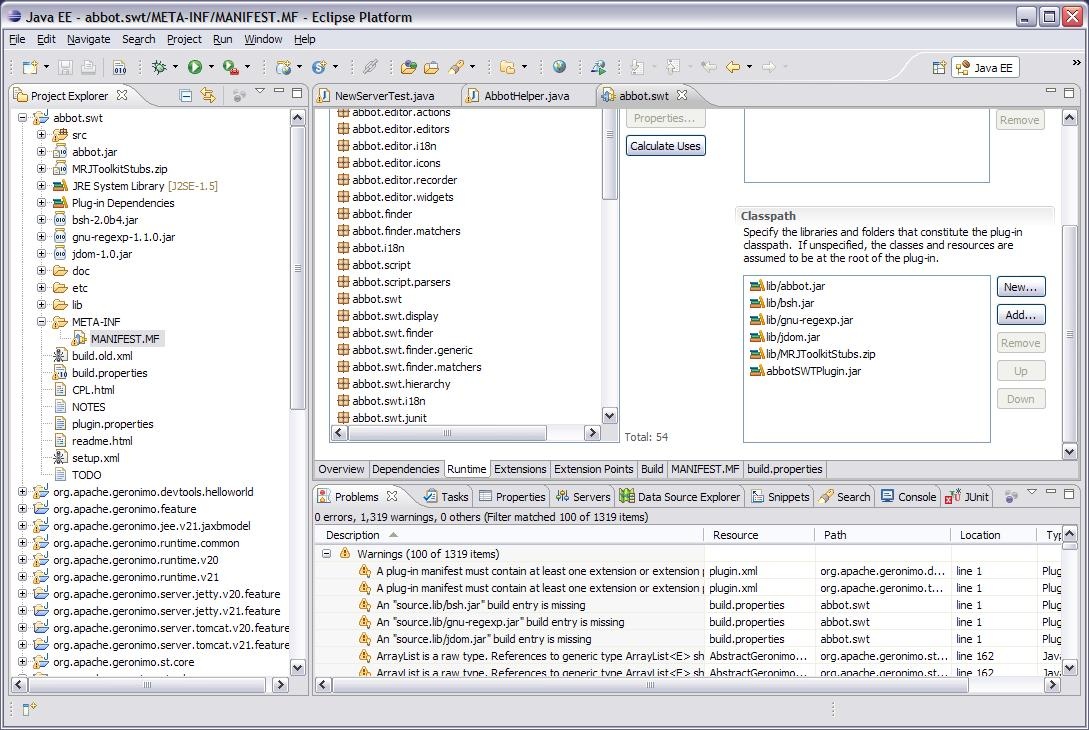
- Import abbot.swt project into eclipse
- Ensure that all the .jars and the .zip from above are on the LIbraries path and the Order and Export Page
- In the MANIFEST.MF, add all available packages to the Exported Packages list. For the classpath, remove the "." library. Also add a new AbbotSWTplugin.jar and the jars and zip from above.